Smart Scan Body Matching
In the implant scanning workflow, common issues include:
- Incomplete scan body data, preventing accurate alignment at the lab.
- Incorrect scan body matching, affecting the restoration process.
To address these challenges, the latest software version introduces “Smart Scan Body Matching”, which ensures higher accuracy, reduces scanning time, and eliminates unnecessary rescanning.
Step-by-Step Guide:
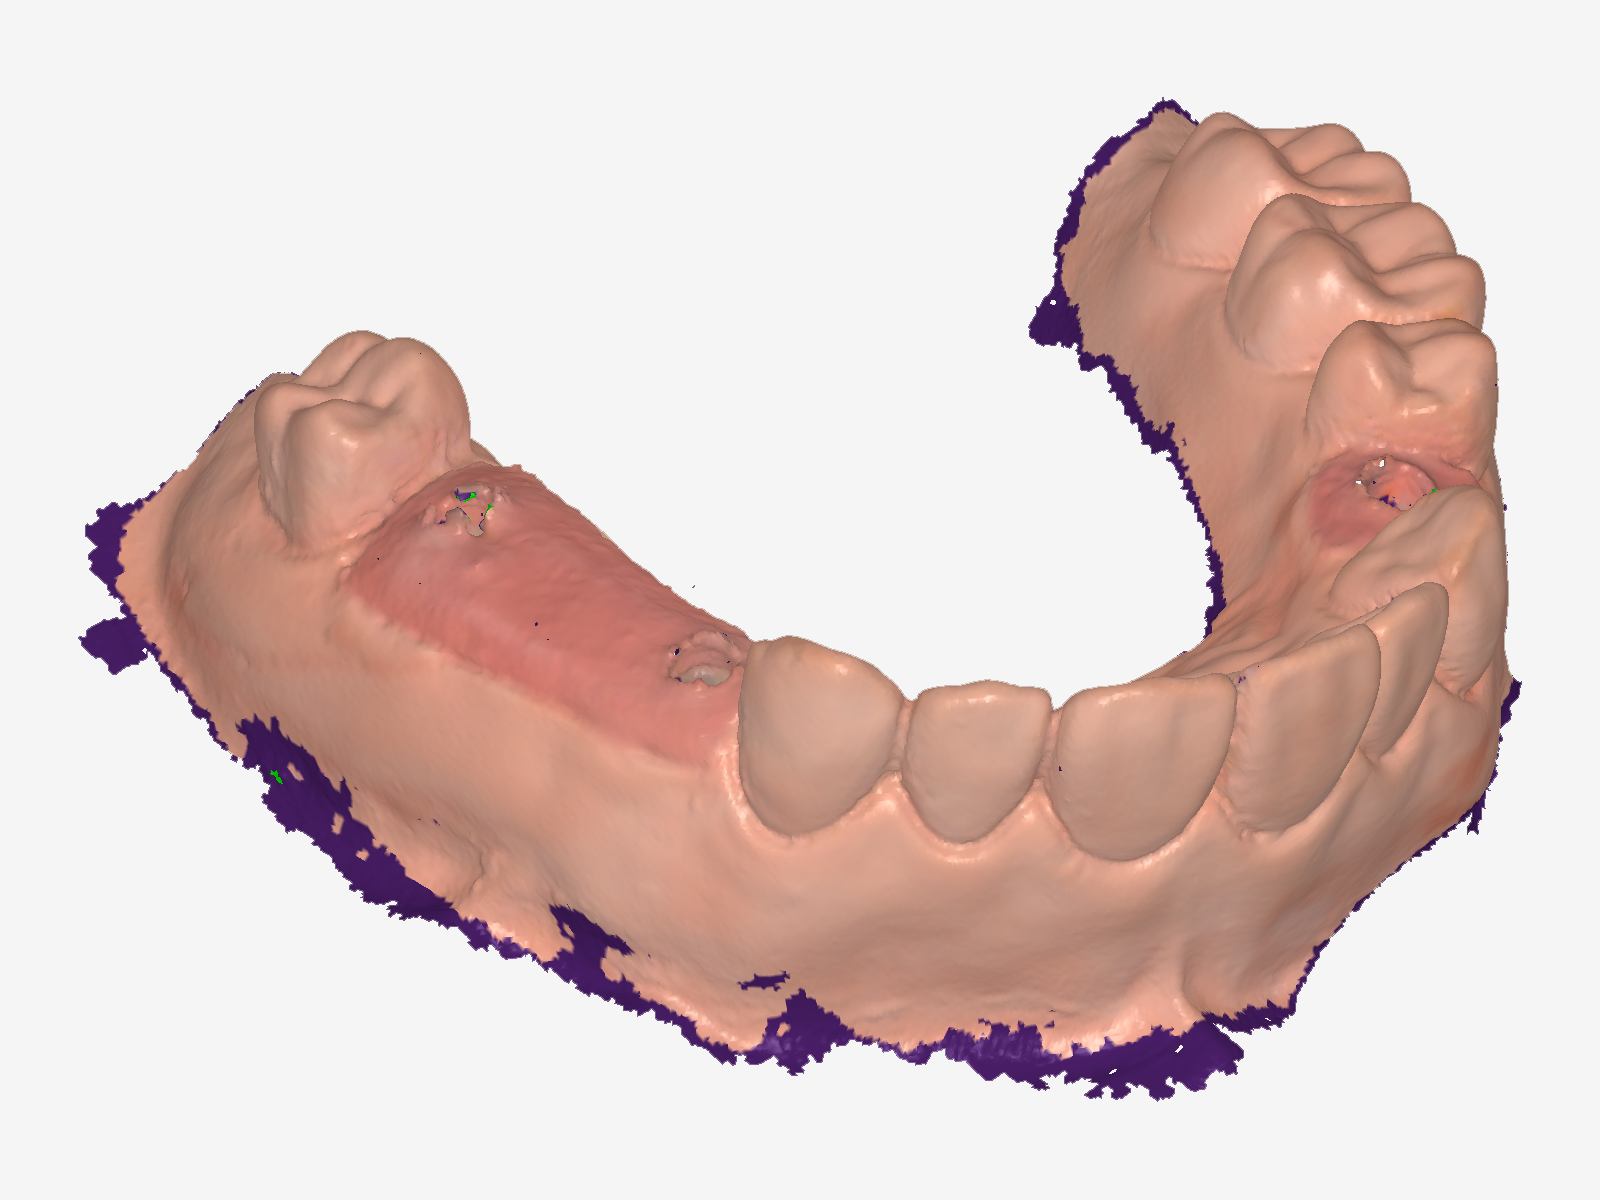
- Create a New Patient & Initial Scan
- Capture intraoral data of the patient's upper and lower jaw without the scan body.
- Mark the Scan Body
- In the “Scan Body” step, the system will automatically duplicate the intraoral data.
- Click "Mark Scan Body" and use the marking tool to locate the scan body position.
- Remove excess gingival data around the implant area to avoid interference.

- Import Reference Data & Install Scan Body
- Attach the scan body to the target implant site.
- Before scanning, click "Import Scan Body", select the corresponding reference data from the database, and begin scanning.
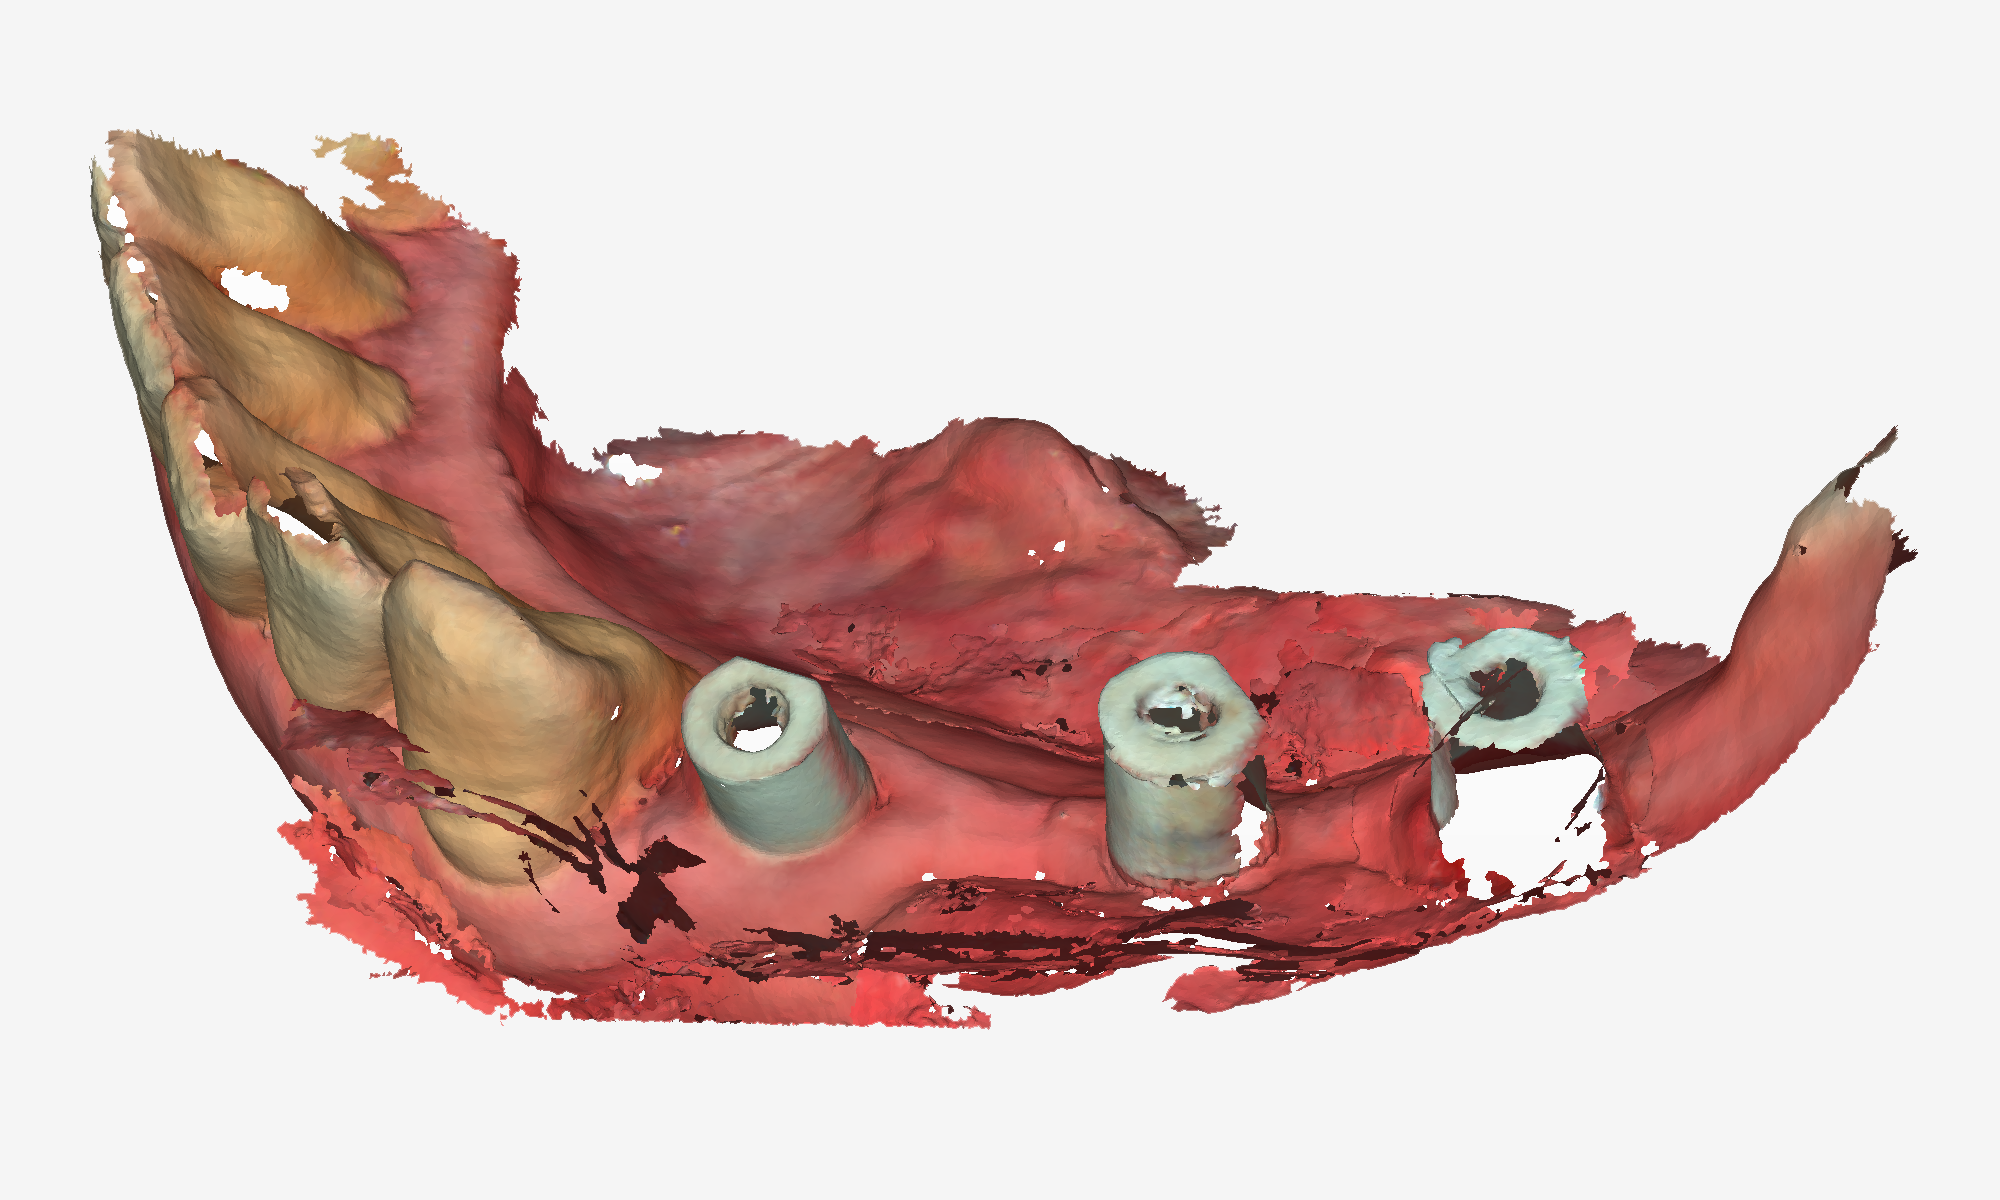
- Scanning & Automatic Matching
- Start scanning from the area surrounding the scan body before transitioning to the scan body itself.
- The software will automatically align the scan body with the reference data.
- Once the matching accuracy is met, the reference scan body will appear in blue highlight.
- Stop scanning and verify that the scan body position aligns accurately with the actual intraoral placement.


- Finalize & Export Data
- After confirming the scan body's correct position, optimize the scan, and the reference scan body data will be exported together.

📹 Refer to the scan video below for a step-by-step demonstration.
Implant Scanning Workflow:
Two Ways to Obtain Reference Scan Body Data:
- From the Supplier
- Obtain the STL-format reference data from the scan body supplier and import it into the database.
- Create Custom Reference Data
- Use the registration feature to scan the scan body, keeping only the characteristic surface of the scan body tip, and import it into the database.
📹 Refer to the scan video below for a step-by-step demonstration.