Wizard-Based Operation Guide
Step 1: Launch Software & Create a New Patient


1.Open the software.
2.Create a new patient profile and fill in the required information.
3.Create a new case.
4.Select the case type and click "Next step" to complete case creation.
Health Report Module Workflow

1.Add doctors and operators as needed.
2.Click "Scan" to enter the scanning interface.

3.Scan the upper jaw, lower jaw, and occlusion data separately and verify the completeness of the data.
4.Enter the optimization interface.

5.Confirm the optimized data is correct, then click "Output".

6.Optionally, add comments.
7.Choose one of the following:
- Click "Output" to save the scan data.
- Click "Generate Report" to create a patient-friendly health report.
Restoration Module Workflow


1.Enter the Restoration module.
2.Select the tooth preparation site and tooth information.
3.Click "Add".
4.Click "Scan" to begin scanning.
5.Scan upper jaw, lower jaw, and occlusion data.
6.Check the scan completeness and enter the optimization interface.
7.Verify all data (upper, lower, occlusion) is correct.
8.Click "Output" when optimization is complete.
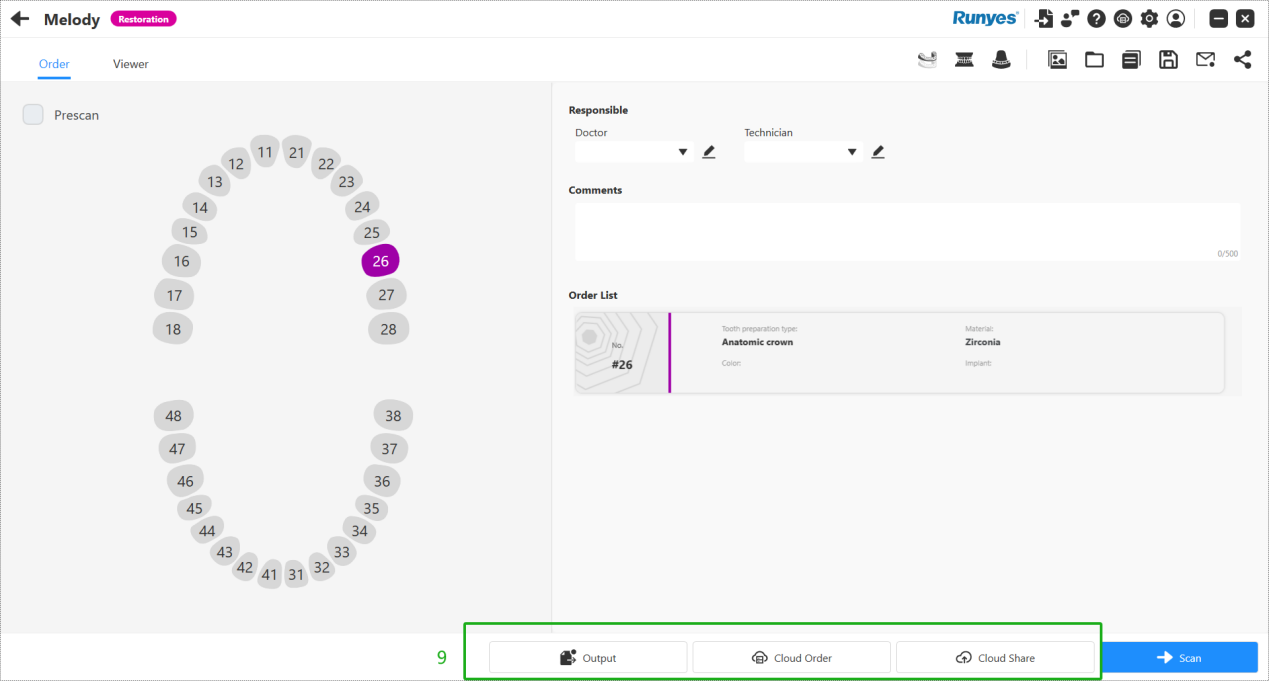
9.Choose one of the following actions:
- Output – Save the scanned data locally.
- Cloud Order – Send directly to the partnered processing lab.
- Cloud Share – Generate a QR code and shareable link for online viewing.
Implant Module Workflow


1.Enter the Implant module.
2.Select the tooth preparation site and tooth information.
3.Click "Add".
4.Click "Scan".
5.Scan upper jaw, lower jaw, occlusion, and scan marker (scan body) data.
6.Verify data completeness and enter the optimization interface.
🔍 Tip: Use the "Scan Body Matching" feature when scanning scan bodies.
8.Check the optimized data:
- A blue scan body indicates successful matching.
10.Click "Output" after confirming all data is correct.
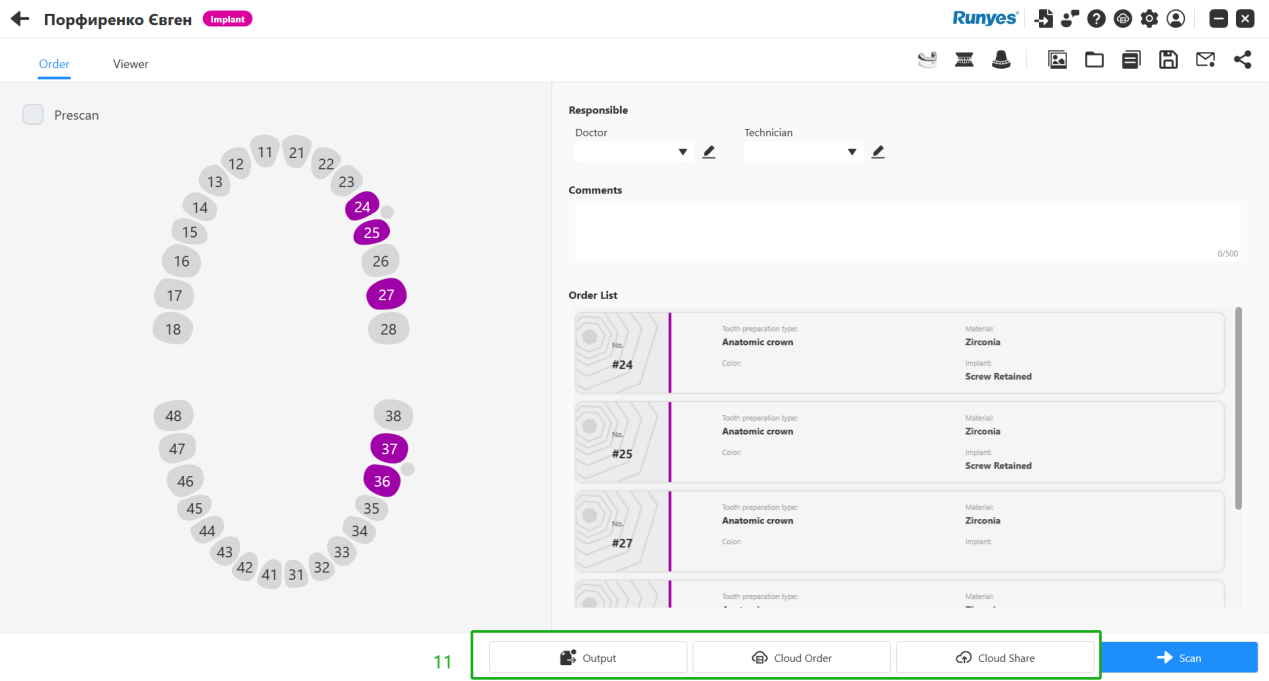
11.Choose one of the following:
- Output – Save data locally.
- Upload Cloud Order – Send to a partnered lab.
- Cloud Share – Share via QR code or website link.
Orthodontic Module Workflow


1.Click "Scan" to begin.
2.Scan the upper jaw, lower jaw, and occlusion separately.
3.Verify data completeness and enter the optimization interface.
4.Confirm all optimized data is accurate.
5.Click "Output".
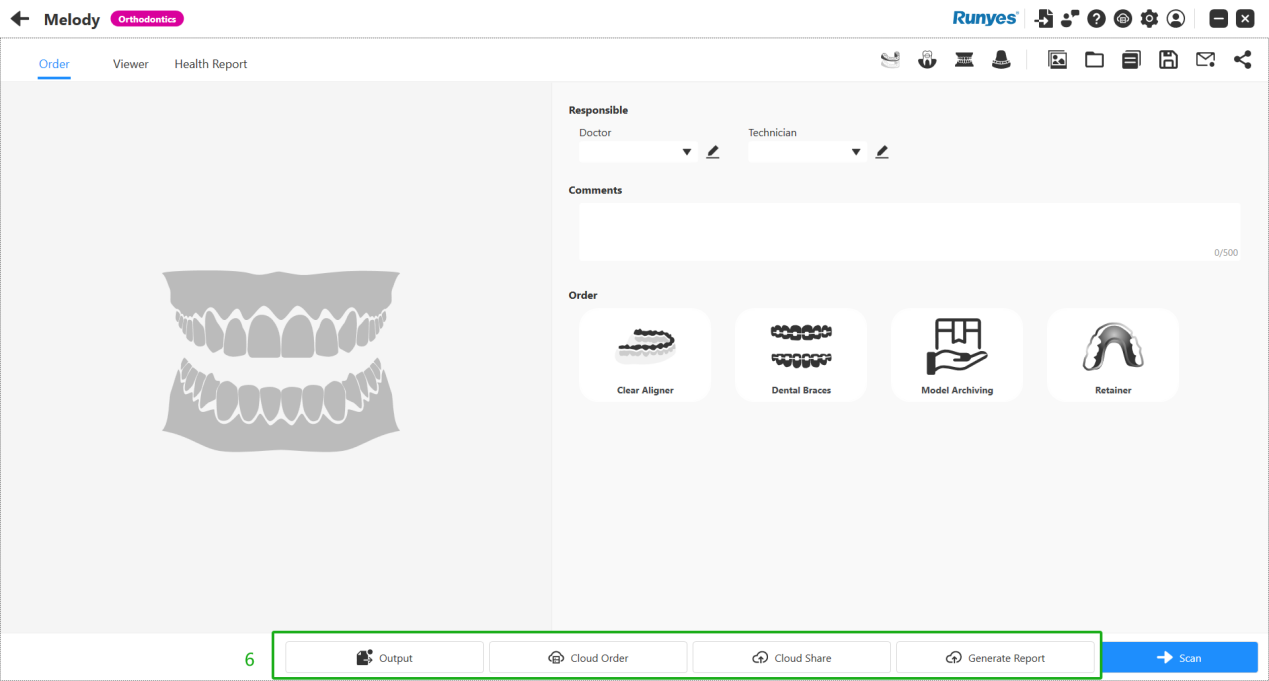
6.Choose one of the following:
- Output – Save data locally.
- Upload Cloud Order – Submit to partner lab.
- Cloud Share – Generate a QR code and link for viewing.
- Click "Generate Report" to create a patient-friendly health report.